01
Bottle and cap fit
Confirm the bottle neck finish, cap thread, closure height and required finished-pack result.
Buyer guide
Understand the practical torque questions to answer before choosing a screw capping machine.
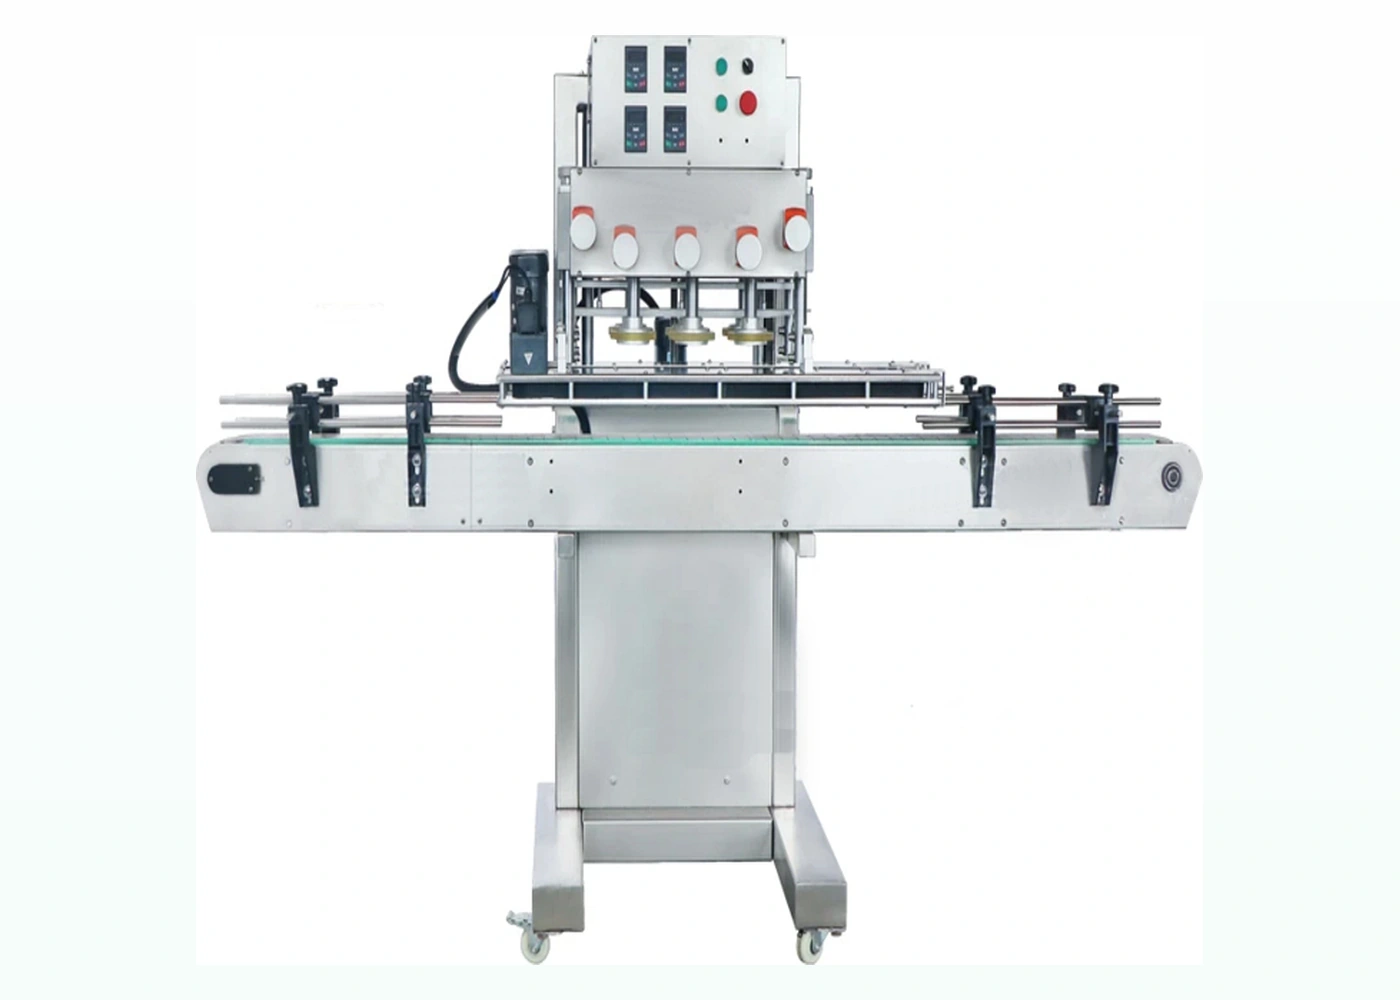
Torque is one of the main reasons to use a screw capping machine. Too little torque can lead to loose caps and leakage risk, while too much torque can damage threads, distort caps or make the pack difficult to open.
The correct setting depends on closure design, neck finish, liner, product risk and customer requirements. A trial with real samples is often the safest way to confirm the route.
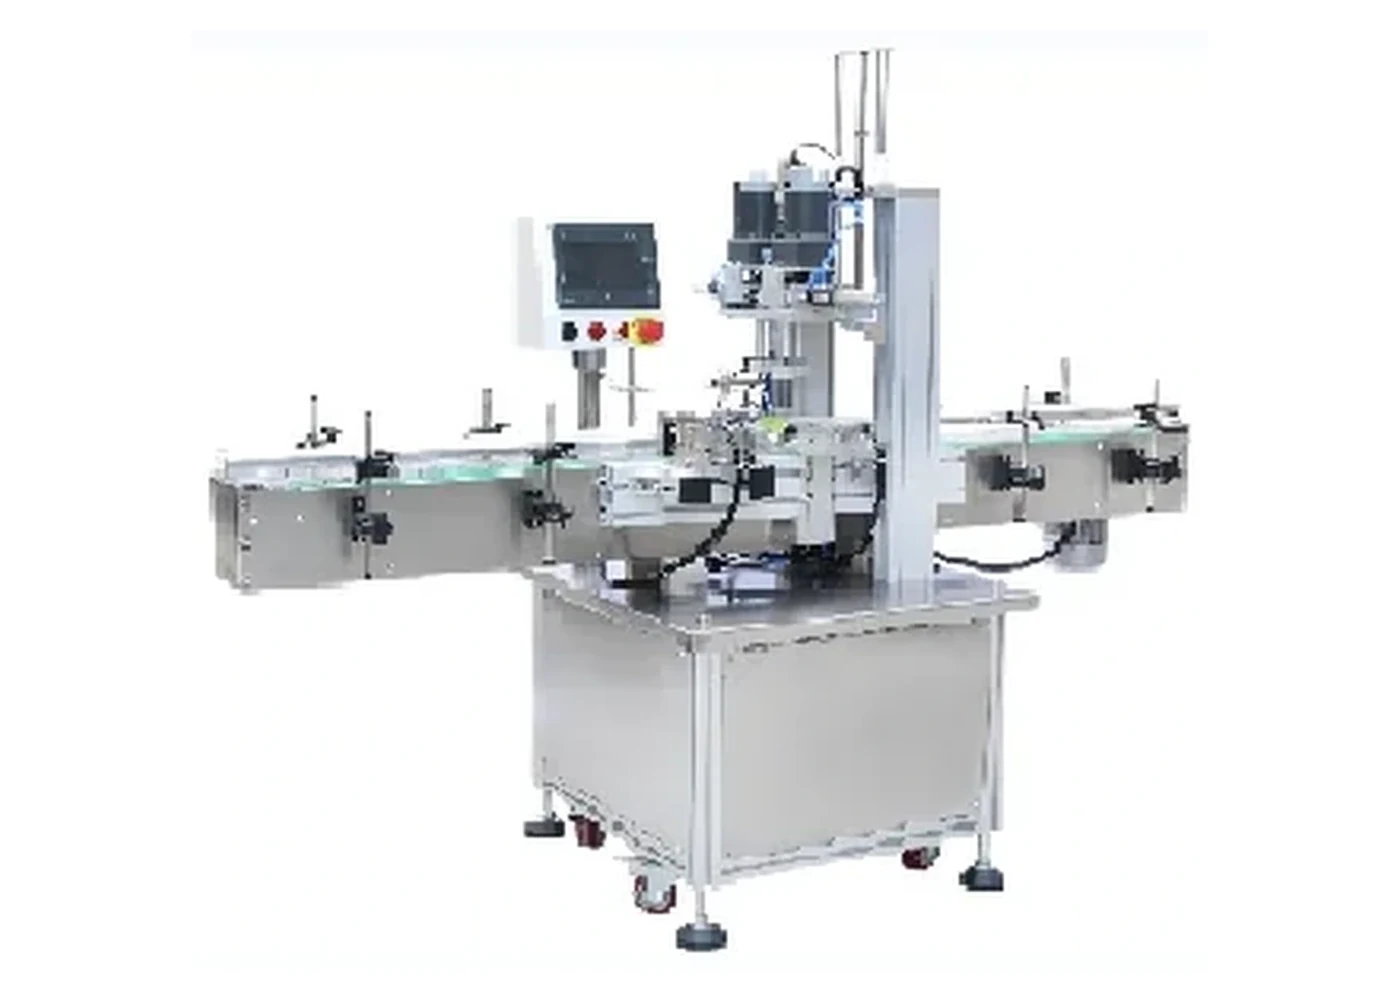
Planning points
Confirm the bottle neck finish, cap thread, closure height and required finished-pack result.
Check target bottles per minute or bottles per hour and whether the operator can sustain the workflow.
Decide whether the capper is standalone or needs to connect to filling, labelling or conveyors.
FAQs
Send bottle dimensions, cap type, cap diameter, target output, product type, photographs and whether cap feeding or line integration is required.
Yes. Representative bottles and caps help confirm grip, torque, cap presentation and changeover requirements.
Many screw capping machines can be supplied as standalone equipment or planned as part of a filling, capping, labelling and conveyor line.
Send photos, samples or dimensions and Lancing UK will help shortlist the most suitable machinery route.
Test method
A numeric machine setting is not a universal closure specification. The target must come from the approved bottle, cap, liner, product and quality requirement. The test method should distinguish the setting used to apply the cap from the result measured on the finished pack.
Record bottle and cap references, supplier batch, liner or wad, fill level or test weight, product around the neck, temperature where relevant and the time between application and measurement. These conditions can change removal behaviour.
Inspect the thread start, cap angle and final cap height. Reject cross-threaded, cocked or visibly damaged samples from the torque study and investigate the process cause; otherwise the number can hide a poor closure.
Document the machine head, chuck or spindle setup and the capping setting used. Then record the measurement device, fixture, direction, rate and elapsed time used for removal testing. Use one agreed procedure consistently rather than comparing results from different methods.
Where the pack requires them, inspect liner compression, tamper-feature condition, cap height, leakage and the consumer opening experience. A cap can meet torque while failing another critical pack requirement.
Confirm that the accepted result is maintained during normal bottle flow, cap replenishment and line stops. Record outliers, cross-threading, cap slip and bottle movement so tooling or handling causes are not treated as random torque variation.
Torque FAQ
No. The torque applied by the machine and the torque measured when opening are related but not identical. Time, liner compression, product, temperature and the test method can change the removal result.
No. The accepted value belongs to the specific bottle, closure, liner, product and quality requirement. It should be agreed and validated with the production pack.
A cross-threaded or partially engaged cap can produce a misleading torque result. Height and visual engagement help confirm that the closure reached the correct position.
The production quality plan should define frequency. Checks are particularly useful after start-up, changeover, tooling adjustment, cap-batch change or a capping fault.
Record the pack, cap batch, liner, filled condition, machine and tooling, settings, line speed, sample timing, measurement device/method and the accepted range.
No. Depending on the pack, liner condition, cap height, thread engagement, leakage, tamper feature and opening experience may also be required.
Closure acceptance
A cap can feel tight and still be cross-threaded, sitting high, damaging the liner or creating an opening result that changes after storage. Torque is useful only when it is tied to the complete finished-pack requirement and a repeatable test method.
| Measurement or inspection | What it indicates | Variables that can distort the result | What to record |
|---|---|---|---|
| Application setting | The machine setting or clutch condition used while the cap is tightened. | Chuck grip, cap surface, bottle rotation, head speed, spindle pressure and thread start. | Machine, tooling, format settings, operator or feed method and the sample identity. |
| Immediate removal torque | The force required to open the pack soon after application. | Delay before testing, tester method, temperature, operator technique and cap or liner recovery. | Time from capping to test, equipment used and result for each labelled sample. |
| Conditioned removal torque | How the closure behaves after the agreed storage or conditioning period. | Product contact, temperature, fill condition, liner compression, neck finish and material relaxation. | Conditioning duration, environment, pack orientation and any leakage or deformation. |
| Cap height and seating | Whether the closure has followed the thread and reached the intended final position. | Cross-threading, damaged threads, tilted placement, liner thickness and tamper-band engagement. | Reference measurement or accepted visual sample from several points in the run. |
| Liner and neck inspection | Whether the sealing surfaces remain undamaged and correctly compressed. | Product contamination, burrs, neck-finish variation, overtightening and cap-supplier variation. | Photographs, leak result and any change in liner or neck appearance. |
| Closure integrity | Whether the finished pack meets its practical sealing, tamper and consumer-opening requirement. | Transport, storage, induction sealing, product chemistry and the test procedure used. | The approved quality method, pass/fail decision and retained accepted and rejected samples. |
The appropriate result belongs to the specific cap, liner, neck finish, product and quality requirement. Where a closure supplier or existing approved pack provides a target, use that as the starting evidence. Lancing should then confirm whether the chosen chuck, single-head or spindle system can reproduce the required finished-pack result without damage.
Use the bottle-cap torque-test checklist to prepare samples and the thread-engagement guide when caps sit high or cross-thread.
A bench or semi-automatic chuck capper can make it easier to isolate one bottle and cap at a time, which is useful during development and varied batch work. An automatic single-head system adds controlled bottle presentation and can be paired with cap feeding where manual placement is not sustainable. A belt or spindle capper applies tightening progressively during continuous transfer, so the bottle support, cap pre-placement and speed relationship form part of the torque result.
State whether the test covers only cap tightening or also includes induction sealing, tamper evidence, leak performance, transport conditioning or consumer opening. If product residue can reach the neck finish, trial filled production samples using the agreed safe procedure. Keep rejected samples that demonstrate cross-threading, liner damage, cap marking or bottle distortion because they help identify the true operating window.
Where no target exists, provide closure drawings, supplier information and the finished-pack risks that the capping trial must control.
Result before setting
A machine setting, application torque reading and later removal result are related but not interchangeable. Record the pack condition, timing, device/method, thread start, cap height and liner or tamper condition with each result.
| Evidence | What it confirms | What it does not prove alone |
|---|---|---|
| Machine setting | The configured drive, clutch, head or spindle condition for the trial. | That every cap was correctly engaged or that the pack will remain accepted over time. |
| Immediate opening/removal check | The pack behaviour using the stated method shortly after application. | Longer-term liner, material or storage effects. |
| Cap height and thread engagement | Whether the closure appears seated and started on the intended thread. | Leakage, tamper performance or opening experience by itself. |
| Timed good-pack run | Whether the accepted result is repeatable through normal production events. | Suitability for untested component batches or formats. |
Question-led guidance
Torque values are only comparable when the pack, timing, instrument and test method are controlled.
Seating torque describes rotational input or resistance as the closure reaches its intended position; opening torque describes the resistance measured when the applied cap is later turned open under a defined method. They are not interchangeable, and neither alone proves the complete pack. Use the closure-integrity checks alongside them.
Materials, liners, friction and the finished closure can settle or relax with time and condition. A comparison is meaningful only when the elapsed time, temperature, handling and test method are the same. Record immediate and conditioned results separately rather than combining them.
Include the real production condition if product or moisture can reach the neck finish, while following safe handling and quality controls. Contamination can change friction and closure behaviour, so a dry idealised sample may not represent the filling-to-capping process. Identify the condition clearly in the trial record.
Not safely without confirming that the bottle finish, liner, cap geometry, instrument contact, timing and acceptance method are equivalent. Treat each materially different closure as its own approved format and compare finished-pack performance rather than a single number in isolation.
Send representative samples, target output and the current acceptance method so Lancing can review the correct capping route.
Measurement system
A torque number is comparable only when the instrument, fixture, direction, units, sample condition, timing and operator method are controlled. If any of these change, investigate the measurement system before adjusting the capper.
| Control | Required record | Common failure |
|---|---|---|
| Instrument range and mode | Tester identity, range, unit, direction and peak setting. | Results lack resolution, are clipped or represent a different event. |
| Bottle fixture | Jaw or post arrangement, bottle orientation and clamping condition. | The bottle rotates, leans or deforms during opening. |
| Timing and environment | Elapsed time after capping or sealing, temperature and sample handling. | Immediate and conditioned removal results are compared as though equivalent. |
| Operator technique | Written opening or application sequence and trained method. | Different speed, axial force or grip produces avoidable variation. |
| Calibration status | Current status and action if verification or calibration is outside requirement. | Production decisions are based on an instrument whose traceability is unclear. |
Buyer decision support
A low later reading, a difference between machines and a rejected pack are not the same problem. Select the evidence route before changing the capper so the next trial tests a clear hypothesis rather than several changing conditions at once.
Keep elapsed time, sample allocation, package conditions and opening method explicit. Compare unopened packs rather than repeatedly opening one sample.
Ask whether each number is a setting, a process signal or a separate package test. Compare the actual control and monitoring scope, not only the word “torque”.
Identify the original defect, the permitted incoming state and the authorised release checks. Preserve untouched samples before changing the pack.
For escalation, retain the raw results with bottle and cap references, tester identity, fixture, units, timestamps and any unusual opening event. Those records are more useful than a batch average stripped of its context.